S3
Creating a S3 bucket
- Open the AWS Management Console and sign in to your AWS account.
- Navigate to the S3 service by clicking on the Services tab and selecting S3.
- In the S3 console, click on the Create bucket button.
- In the Create bucket window, do the following:
- For Region, choose the region where you want to create your bucket. S3 buckets are regional, and your data will be stored in the chosen region.
ap-south-1 - For Bucket name, enter a unique name for your bucket. S3 bucket names must be globally unique.
UNIQUEPREFIX-mybucket
- For Region, choose the region where you want to create your bucket. S3 buckets are regional, and your data will be stored in the chosen region.
- Leave rest of settings to defaults
- Scroll to botton and click on Create bucket.
Upload files to S3 from EC2
- You will reuse the role created previously to get access to s3 bucket.
- Create a new instance or if you have a instance running you can use that
- Select the running instance and goto "Actions" -> "Security" -> "Modify IAM Role"
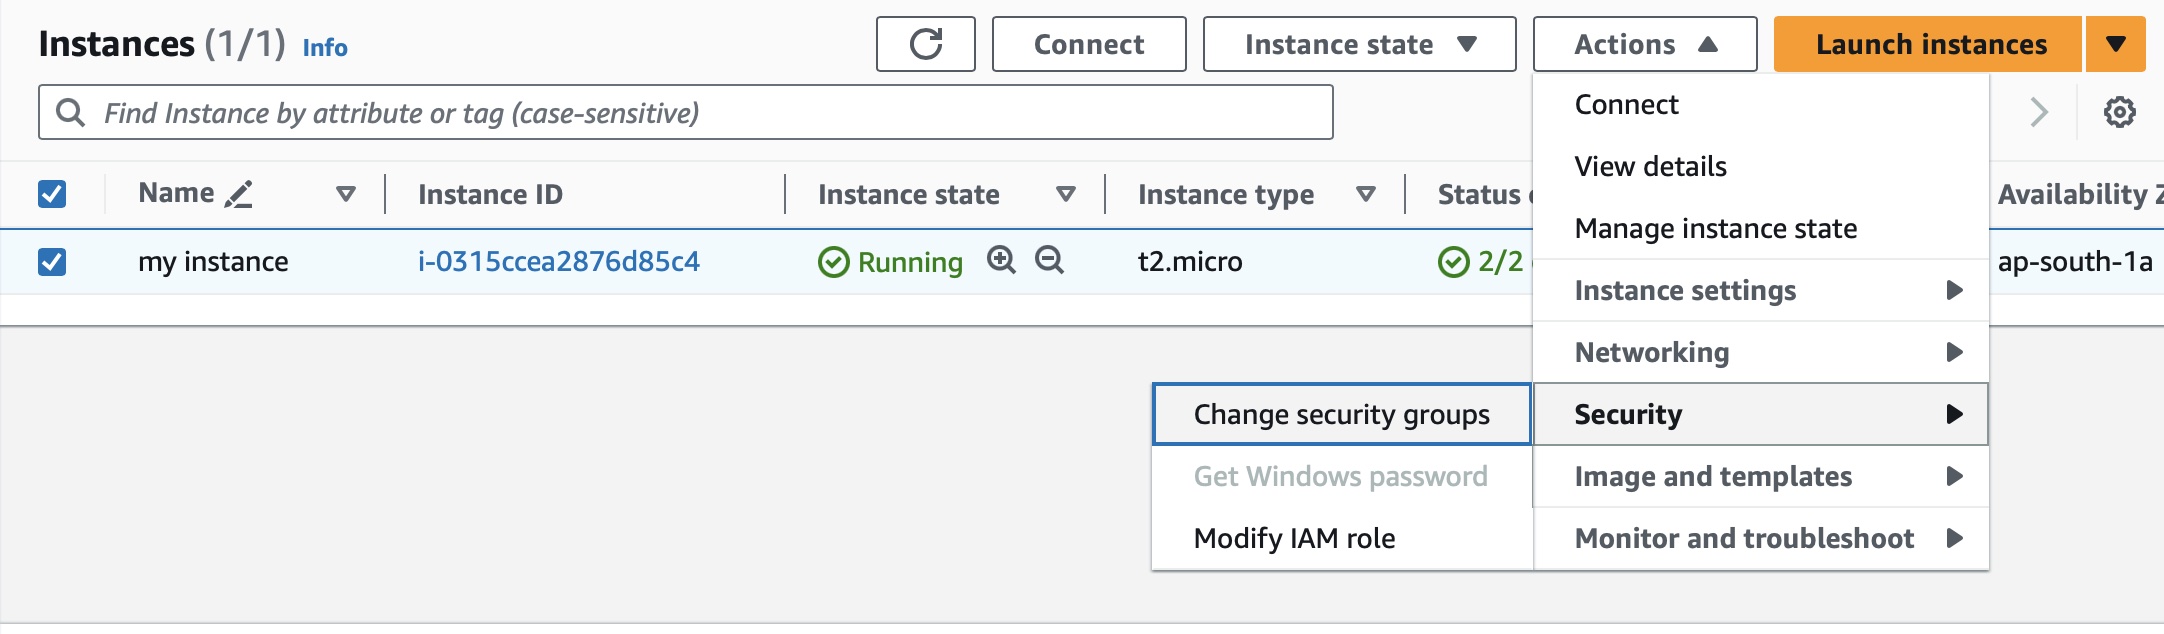
In the window select the role created previously
myrole-s3and click "Update IAM Role"Once its attached, you can login to instance using SSH and issue below commands,
[ec2-user@ip-10-0-0-147 ~]$ aws s3 ls
2023-12-01 13:22:23 jwconsult-mybucket
[ec2-user@ip-10-0-0-147 ~]$ vi sample.txt
[ec2-user@ip-10-0-0-147 ~]$ aws s3 cp sample.txt s3://jwconsult-mybucket/
upload: ./sample.txt to s3://jwconsult-mybucket/sample.txt- You can validate this by going to S3 bucket in AWS console and see the object is uploaded
Note
What you have done now is without using any hardcoded credentials you were able to access S3 bucket from EC2 instance. This is the most secure way to establish access between AWS services and underlying token generation is handled by AWS internally