EC2
Creating an Amazon EC2 instance
- Open the Amazon EC2 console ([https://console.aws.amazon.com/ec2/]).
- In the navigation pane, choose "Instances" and click Launch Instances
- Provide a name for the ec2 instance
my-instance - An AMI is a template that contains the configuration for an EC2 instance. AMIs include the operating system, applications, and other software that will be installed on the instance. Select
Amazon Linux 2023 AMI - An instance type defines the hardware configuration of the EC2 instance, including the number of CPUs, amount of memory, and storage capacity. Select
t2.micro- which has capacity of 1 vCPU and 1G RAM - Create a Keypair which will used when you want to connect to this instance via command line.
my-keypair. Keypair is nothing but a public/private key where public key is deployed in EC2 instance and if you or anyone wants to connect should provide the private key to connect to instance. - In the Network Settings, click Edit and choose the VPC
myvpcand Subnetmypublicsubnetwhich you have already created. Change the Auto Assign Public IP to Enable - For Firewall (Security Group), choose the Create security group and provide a name
ssh-access.
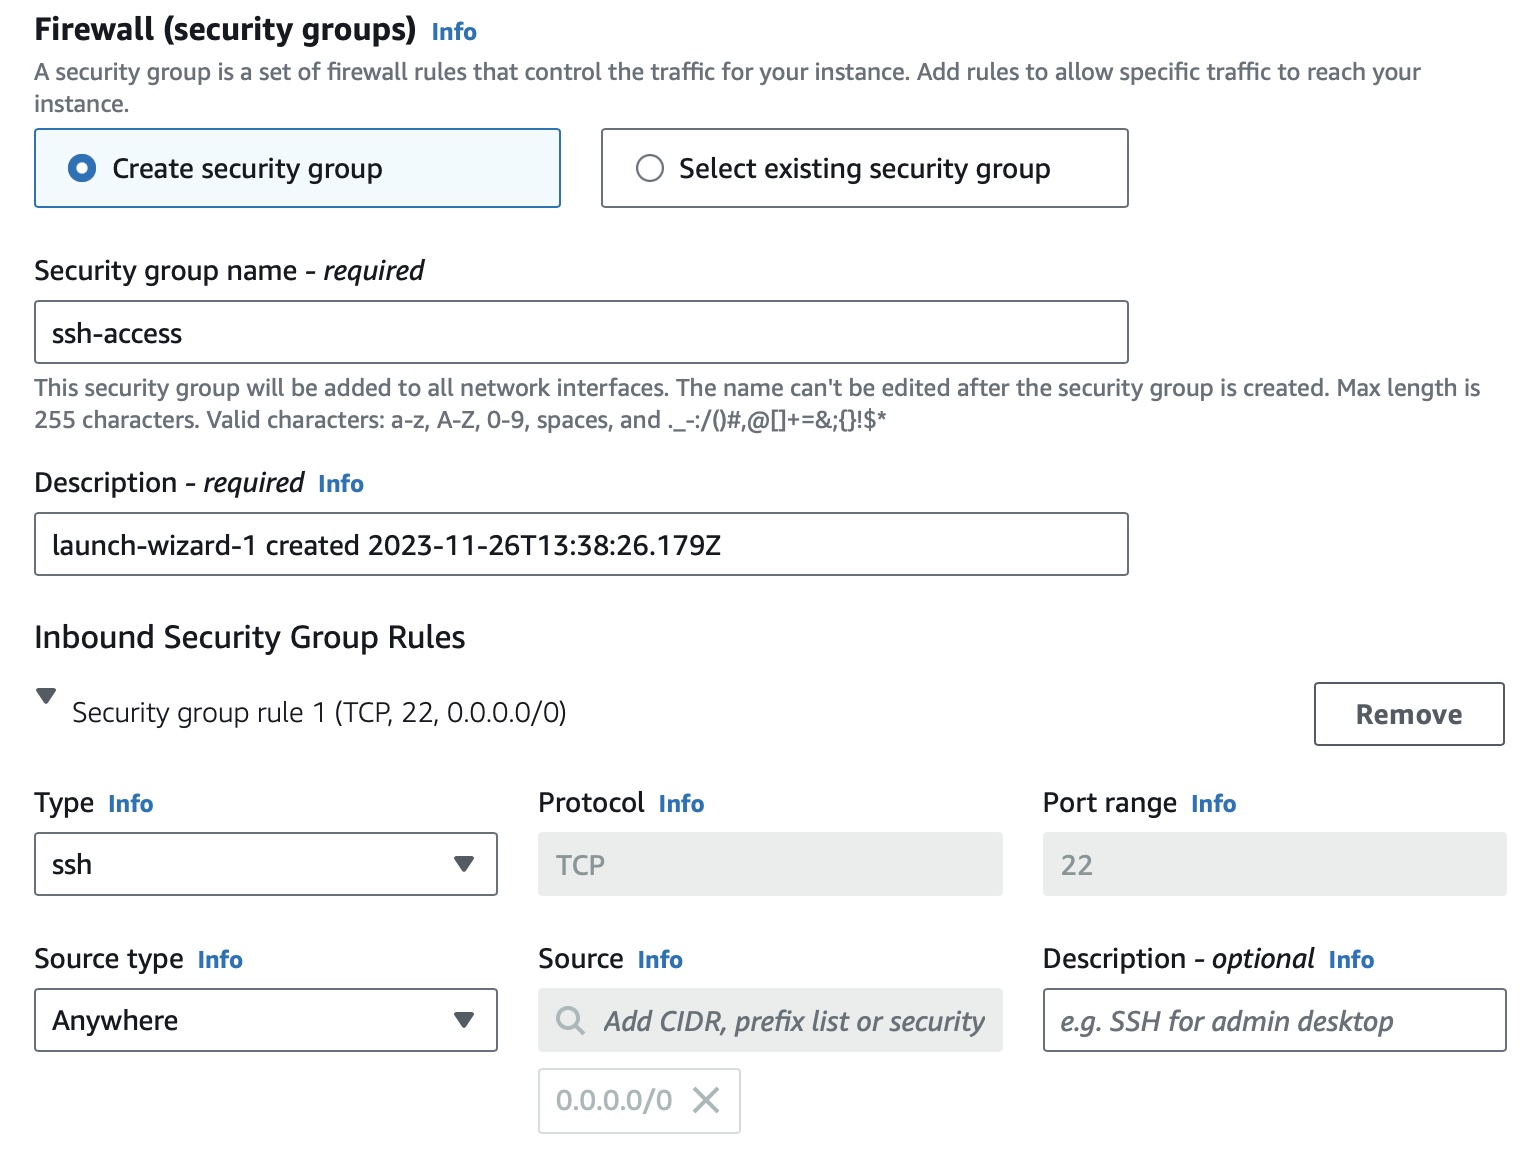
Note
If you would like your VMs to be not opened to entire world to see, since it will have a public ip created. In order to connect via EC2 Instance Connect you need to allow the 13.233.177.0/29 IPs as source on port 22 for ap-south-1 region - this IP changes for each region. Full IP List
- Leave the remanining settings as default and proceed to Summary and verify all the details are good.
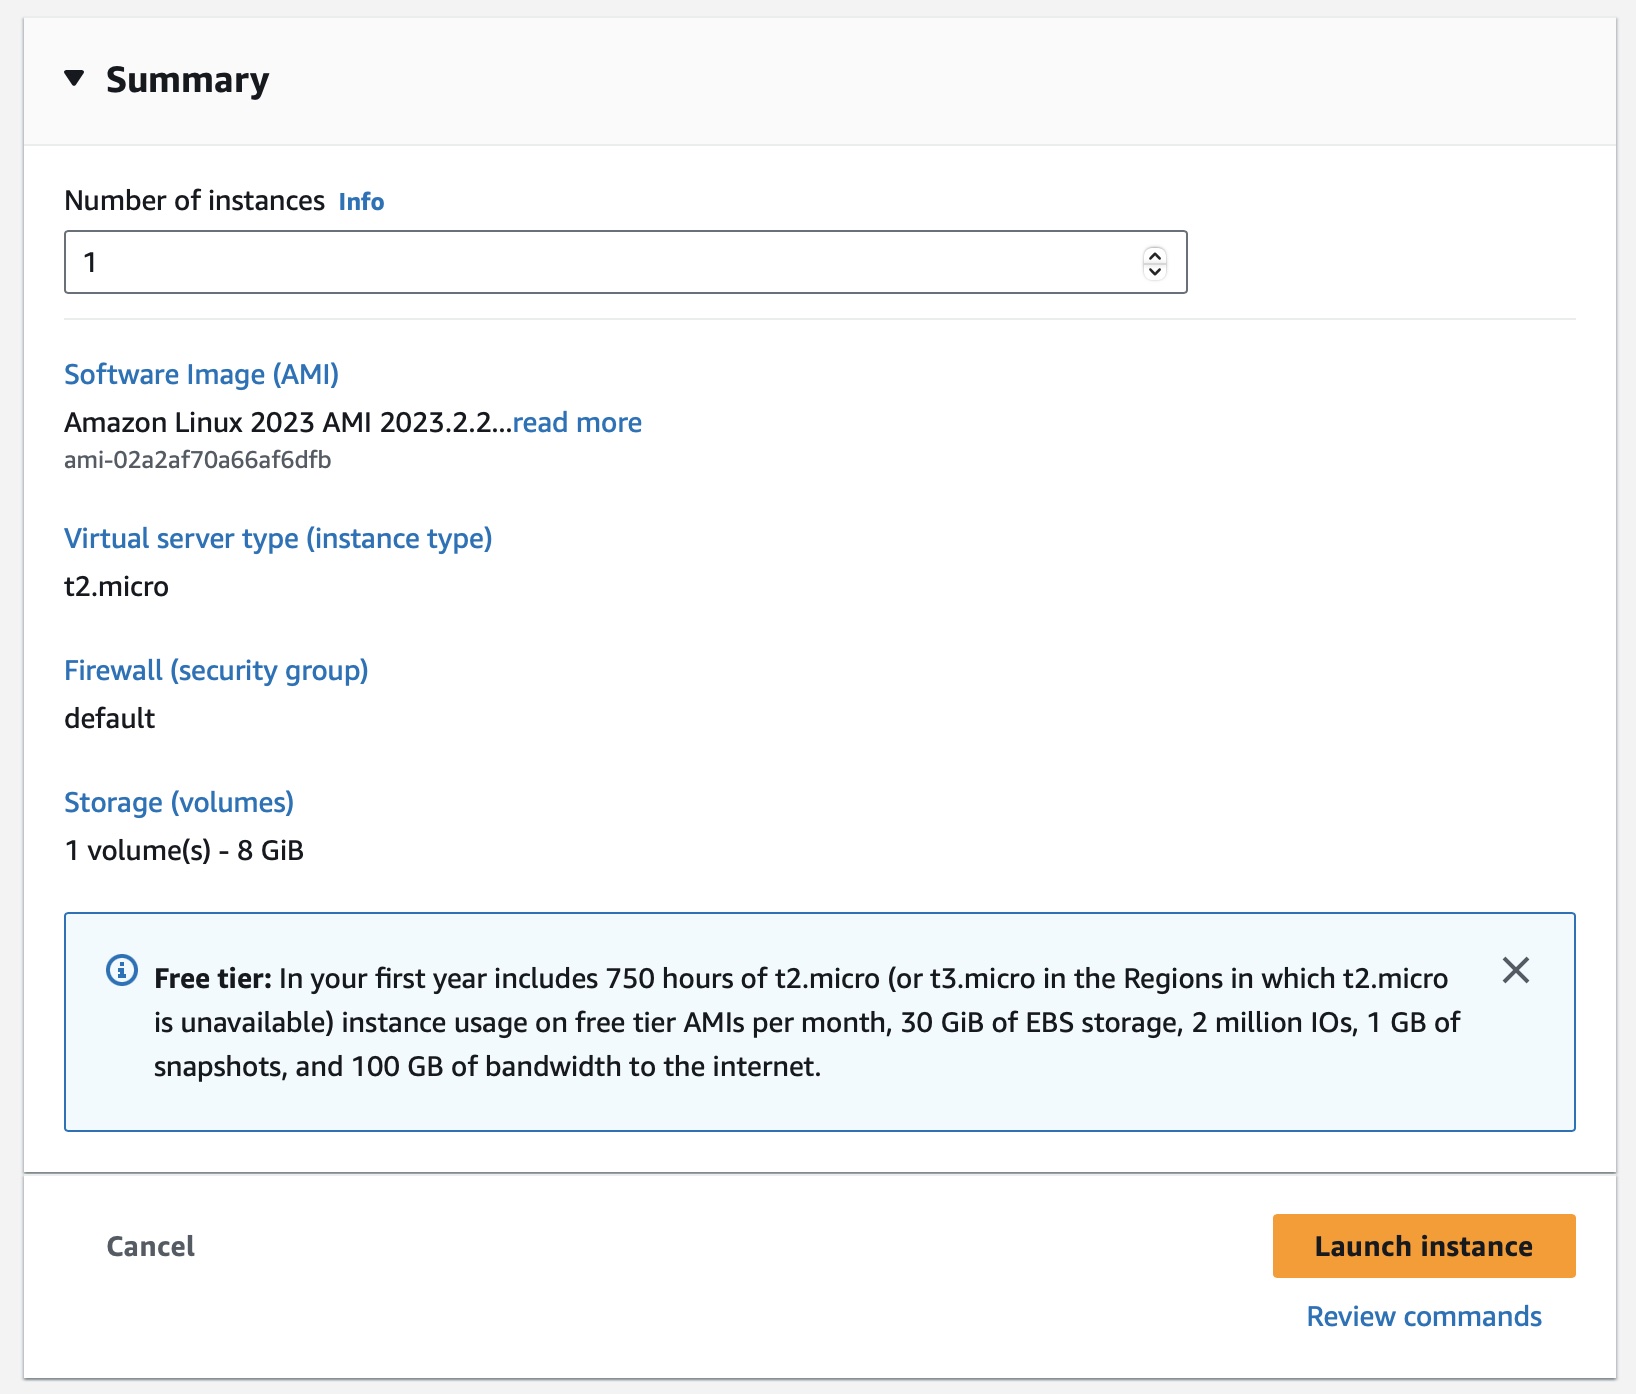
- Once you have verified all the settings, click Launch instance. This will provision the instance and start running the operating system and applications.
CLI command
aws ec2 run-instances --image-id ami-02a2af70a66af6dfb --count 1 --instance-type t2.micro --key-name my-keypair --security-group-ids sg-0af660089ac5c7ab2 --subnet-id subnet-07ca6b02f2e67d507
Connecting to Instance
- Goto EC2 Dashboard page and you will find the instance created
- Click on the instance
myinstance - Click "Connect" and you can choose the option "EC2 Instance Connect" to open the instance in the browser window
- You will see the SSH window with command line logged into the user
Deploying a webserver
- To install apache server, run the command
sudo dnf install -y httpd - Start the server using command
sudo systemctl start httpd - This server is now listening on port
80 - You can perform a curl within the SSH terminal
curl http://localhost:80and will see the below result
<html><body><h1>It works!</h1></body></html>Testing the Firewall
- You can try to access the Public IP address in the browser
http://PUBLIC_IP - You wont be able to see the
It Worksresponse in the browser, rather a timeout. Any guess why ??? - This is because of your Security Group rule where you added only access to SSH port
22 - Now to add more rules, open the Security Group that was created earlier
ssh-access - Click on "Edit Inbound Rules" and "Add Rule"
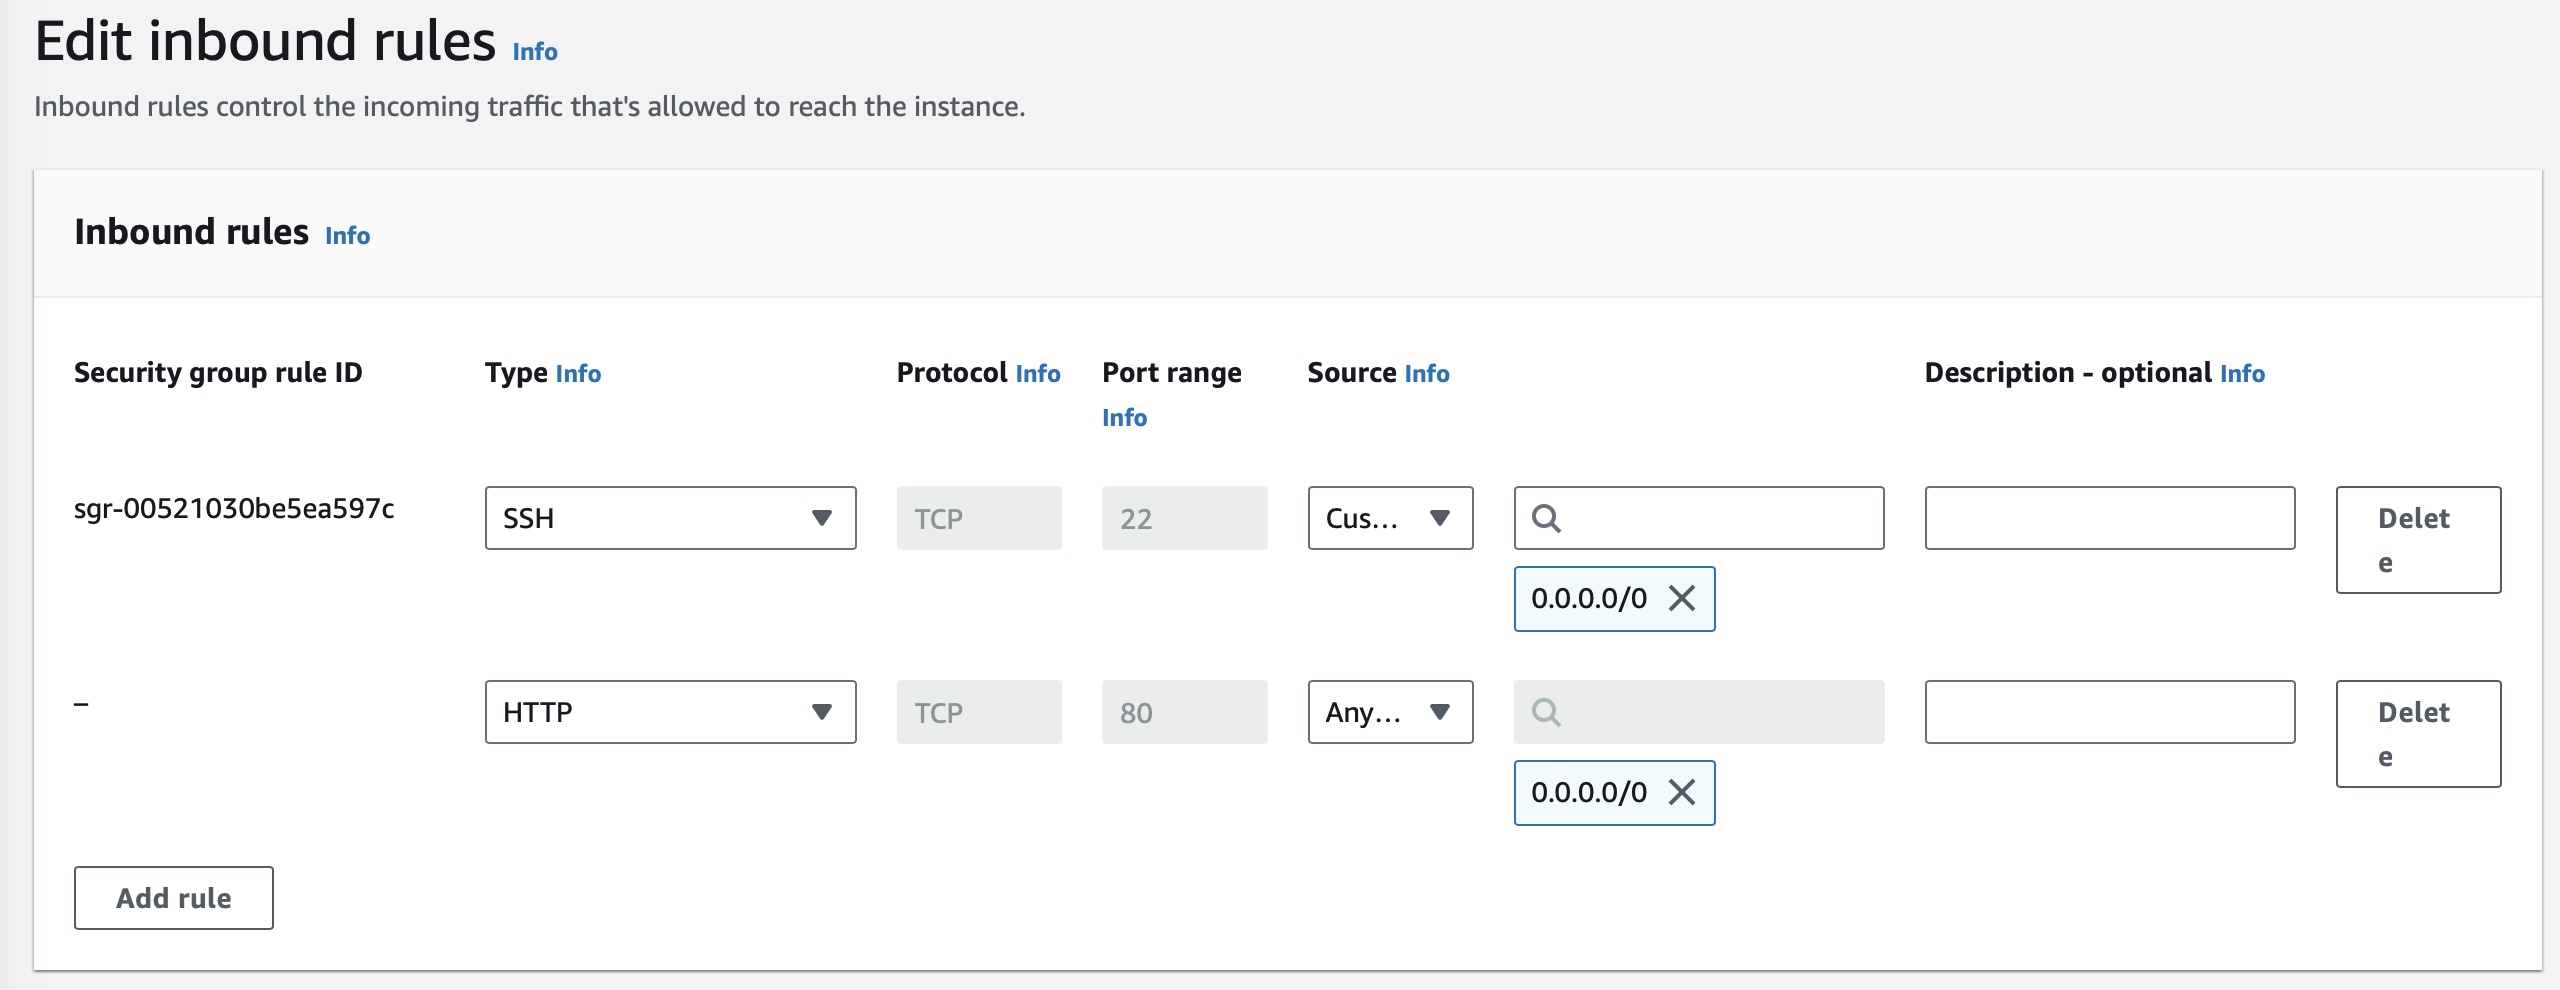
- Add an entry with Type as "HTTP" and with Source as "Anywhere IPv4" and then click "Save Rules"
- This rule will be propogated immediately and you would now be able to access the URL in the browser
http://PUBLIC_IPand should seeIt Works
Terminate instance
Once you test your changes and get to explore on the instances and you no longer need this instance, you can either Stop or Terminate the instance.
Select the instance and goto Instance State and you will have options,
Stop Instance : Current state of the VM is maintained and can be reused later if required. Stopped instance can be started again and resumed work.
Terminate Instance: State and disk contents are deleted and you cannot recover this instance. This should be done only if you deem instance is not needed anymore.
CLI command
aws ec2 stop-instances --instance-ids i-0315ccea2876d85c4
aws ec2 terminate-instances --instance-ids i-06ef6d8d73a0bac41