Hosting Website
Installing NodeJS
- Login to the instance running on EC2
- Run the following commands to install node latest version
shell
curl -o- https://raw.githubusercontent.com/nvm-sh/nvm/v0.39.5/install.sh | bash
. ~/.nvm/nvm.sh
nvm install --lts
node -v- If you would like to install in your laptop/desktop then follow the link Install Node
Creating your website
- You can start with creating your website either from scratch using any web framework like Angular, React.
- For this example you will be using react-static-app which is a popular framework for React. Clone the git repo you created in your shell.
shell
git clone $COPIED_URL- To run this project in local,
shell
npm install
npm run start- This will provide a localhost url with port number which you can see preview and modify code for live reloads.
- Once the changes are done and tested in local. We need to build this project so that it runs on browser.
buildwill create JS files and minify the run time size of the code. This process will create the code which is required for your runtime in a build folder.
shell
npm run buildCreate a S3 Bucket
- Navigate to the S3 service in the AWS Management Console.
- Click on the "Create bucket" button.
- Provide a unique name for your bucket. Choose the region where you want to store your website data.
UNIQUEPREFIX-static-site - Click on "Create bucket" to finalize the bucket creation.
- Select your newly created bucket from the list.
- Click on the "Properties" tab.
- Under "Static website hosting" towards the end, choose Enabled under "Use this bucket to host a website". On the "Index Document" type
index.htmland for "Error Document" type404.html - Click on "Save changes" to enable website hosting for your bucket.
- Click on the "Permissions" tab and enable public access by clicking "Edit" under "Block Public Access" and unchecking "Block all public access" and on pop-up confirm.
- Click on "Bucket Policy" and choose "Edit policy."
- Paste the following policy into the editor:
json
{
    "Version": "2012-10-17",
    "Statement": [
        {
            "Sid": "PublicReadGetObject",
            "Effect": "Allow",
            "Principal": "*",
            "Action": [
                "s3:GetObject"
            ],
            "Resource": [
                "arn:aws:s3:::UNIQUEPREFIX-static-site/*"
            ]
        }
    ]
}- Click on "Save changes" to apply the policy.
Upload Website Files
- Open the S3 console and select your bucket.
- In the "Actions" menu, select "Upload files"
- Drag and drop your website files or select them from your local computer. You need to copy all the files under
build
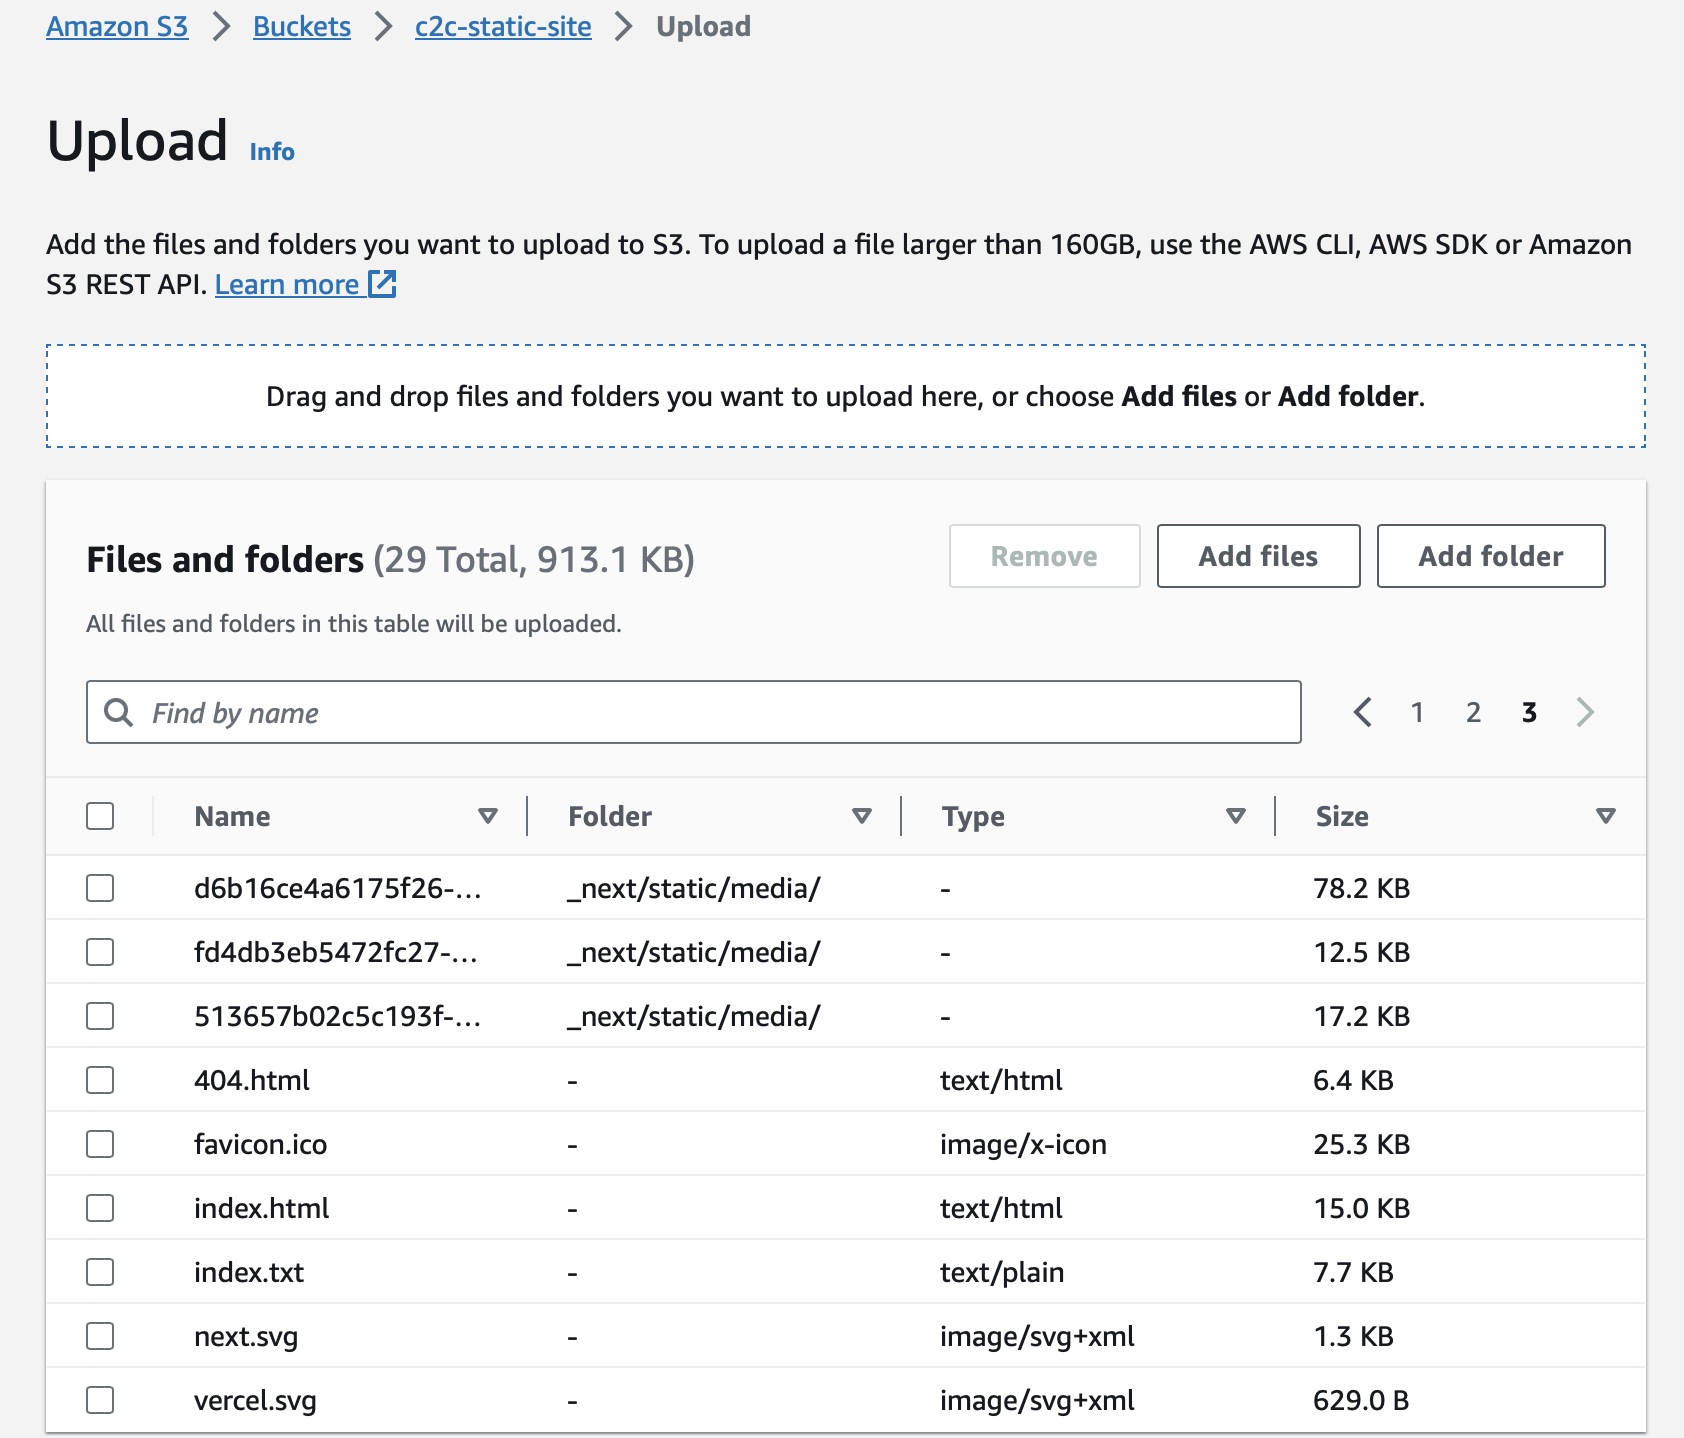
- Click on "Upload" to transfer the files to your S3 bucket.
- If you are using EC2 instance, then give the following command to copy all files from out directory to S3 bucket
shell
aws s3 sync ./build/ s3://UNIQUEPREFIX-static-site --deleteAccess Website
You can access your website using your bucket's static website hosting URL, which can be found in the "Static website hosting" section under your bucket's properties. http://UNIQUEPREFIX-static-site.s3-website.ap-south-1.amazonaws.com
Voila! You just published a website for the whole world to see 😃
Power of Cloud
You just witnessed the power of cloud computing and how easy it is to reach your users anywhere they are in just a few hours of time. Share this URL with your friends and see whether they are able to see your website